

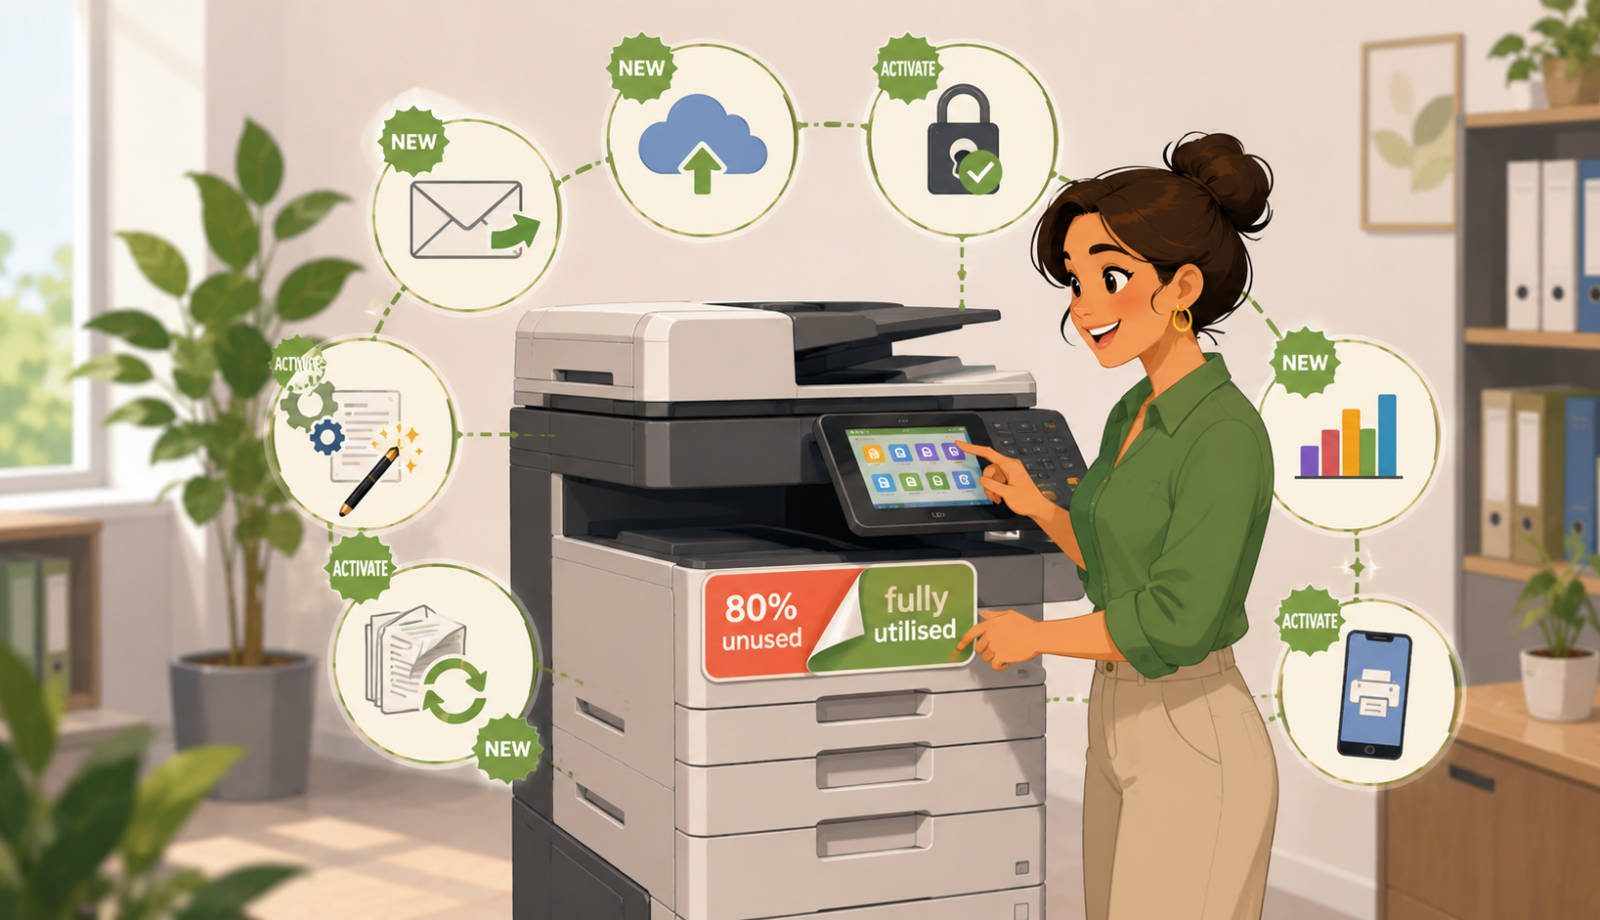
A practical guide, because you’re probably only using 20% of what your copier can do
Your office copier is probably the most underutilised piece of equipment you own.
You use it to print. Maybe copy. Occasionally scan. And that’s about it.
But here’s the thing: that machine sitting quietly in the corner is capable of so much more. Workflow automation. Document management. Cloud integration. Security features. Cost tracking. Mobile printing.
You paid for these features. They’re already there, waiting to be used. And every feature you don’t use is money left on the table.
In this article, I’ll walk you through how to maximise your copier’s features for maximum return on investment. No jargon. No hard sell. Just practical ways to get more value from what you already own.
Let’s dive in.
Part One: The 80/20 Problem
Most businesses use about 20% of their copier’s features.
| Feature | % of businesses that use it |
| Basic printing | 95% |
| Basic copying | 85% |
| Scanning to email | 50% |
| Double-sided printing | 60% |
| Automatic document feeder | 40% |
| Scan to network folder | 25% |
| Scan to cloud | 15% |
| User authentication | 10% |
| Workflow automation | 5% |
| Print tracking and reporting | 10% |
| Mobile printing | 20% |
| Secure print release | 15% |
The features at the bottom of that list are already paid for. They’re sitting on your machine right now, waiting to be activated.
The ROI opportunity is enormous. A feature that costs nothing to enable (because you already own it) but saves your team hours per week has an infinite return on investment.
This article is about finding those features and putting them to work.
Part Two: The Features You’re Probably Not Using (But Should Be)
Let me walk you through the most valuable underutilised features.
Feature 1: Scan-to-Email (Done Right)
What it does: Scans a physical document and emails it directly from the copier.
Why it’s underutilised: Many businesses have scan-to-email set up poorly. It’s slow, unreliable, or requires too many steps. So staff don’t use it.
How to maximise it:
- Create one-touch shortcuts: Most copiers let you save email addresses as shortcuts. “Scan to John” instead of typing John’s email every time.
- Set default settings: High resolution for documents, lower resolution for images. PDF format. Colour or black and white as appropriate.
- Test it weekly: Scan-to-email breaks when email settings change (passwords expire, servers update). Test it weekly so it works when you need it.
ROI impact: Every time a staff member walks to a scanner, scans to USB, walks back to their computer, attaches to email, and sends, that’s 3-5 minutes. Scan-to-email directly from the copier takes 30 seconds. For a busy office, this saves hours per week.
Feature 2: Scan-to-Cloud
What it does: Scans documents directly to cloud storage (Google Drive, SharePoint, Dropbox, OneDrive).
Why it’s underutilised: Requires initial setup. Many businesses don’t know it exists.
How to maximise it:
- Set up cloud destinations: One-time configuration. Your copier manual or IT person can help.
- Create shortcuts: “Scan to Client Folder,” “Scan to HR,” “Scan to Accounts.”
- Use OCR (optical character recognition): Makes scanned documents searchable. You can search for words inside the document.
ROI impact: No more “I scanned it, saved it to my desktop, but I can’t remember where.” Documents go directly to the right cloud folder. Everyone can find them. No lost documents. No “where did that scan go?”
Feature 3: User Authentication and Secure Print Release
What it does: Users must log in (PIN, card, or code) to use the copier. Print jobs are held in a queue until the user authenticates at the machine.
Why it’s underutilised: Takes minutes to set up. Many businesses don’t bother.
How to maximise it:
- Enable user authentication: Every user gets a PIN or code. No code, no printing.
- Turn on secure print release: Print jobs sit in the queue until the user releases them at the machine.
- Set up swipe card or ID card login if your copier supports it (faster than PINs).
ROI impact:
- Confidential documents: No more sitting in output trays for anyone to see.
- Wasted prints eliminated: Uncollected print jobs sit in the queue, for a set time, then are automatically deleted. No more piles of unclaimed documents.
- Cost visibility: You can track who is printing what, how much, and in colour.
One business reduced their paper usage by 25% just by turning on secure print release. Uncollected jobs stopped being reprinted.
Feature 4: Print Tracking and Reporting
What it does: Tracks who printed what, when, how many pages, and in colour or black and white.
Why it’s underutilised: Many businesses don’t know the feature exists. Or they don’t know how to access the reports.
How to maximise it:
- Enable print tracking: Usually in the copier’s admin settings.
- Run monthly reports: Look for unusual patterns (high colour usage, large jobs, printing outside business hours).
- Share insights with the team: “We printed 10,000 pages last month. 30% were colour. Let’s see if we can reduce that.”
ROI impact: You can’t manage what you don’t measure. Print tracking gives you data. Data drives decisions. One business discovered that 40% of their colour printing was internal drafts. They switched to black and white default and saved £1,200 per year.
Feature 5: Mobile Printing
What it does: Allows printing from smartphones and tablets without installing drivers.
Why it’s underutilised: Requires initial setup. Many businesses don’t enable it because they think it’s complicated.
How to maximise it:
- Enable mobile printing (usually one setting in the admin panel)
- Print a QR code that links to the mobile printing instructions. Stick it on the copier.
- Show your team how to use it (takes 5 minutes in a team meeting).
ROI impact: Your team can print and scan from mobile BYODs. No more emailing documents to colleagues to print. No more “can you print this for me?”
Feature 6: Double-sided Automatic Document Feeder (DADF)
What it does: Feeds a stack of documents automatically and digitizes them.
Why it’s underutilised: Some staff don’t know the document feeder exists. Others don’t know it can scan double-sided.
How to maximise it:
- Show your team: “This is the DADF. You put a stack here. It feeds automatically.”
- Set double-sided as default: Most copiers can be set to scan both sides automatically.
- Use it for everything: Even 2-3 page documents are faster in the DADF than lifting the lid for each page.
ROI impact: Scanning a 10-page document manually takes 2-3 minutes. Scanning it through the DADF takes 15 seconds. For anyone who scans regularly, this is a massive time saver.
Feature 7: Workflow Automation (Advanced)
What it does: Automates multi-step processes. Scan a document → automatically convert to searchable PDF → save to specific folder → email notification to colleague.
Why it’s underutilised: Requires initial setup. Most businesses don’t know it’s possible. Some are unsure how to use it.
How to maximise it:
- Identify a repetitive process: “Every time we get a signed contract, we scan it, save to client folder, and notify accounts.”
- Set up a workflow: One-time configuration. Your copier manual or provider can help.
- Train the team: “Scan to the ‘Contracts’ shortcut. The machine does the rest.”
ROI impact: A process that used to take 5 minutes (scan, save, rename, move, email) now takes 30 seconds (scan to shortcut). For processes that happen daily or weekly, the time saving is enormous.
Part Three: The Features You’re Probably Using Wrong
Even common features are often used suboptimally.
Double-Sided Printing
Common mistake: Printing single-sided out of habit, or not knowing how to set double-sided as default.
The fix: Set double-sided as your printer default. One setting change. 50% less paper forever.
ROI impact: Cuts paper costs in half. For a busy office, that’s hundreds or thousands per year.
Print Quality Settings
Common mistake: Printing everything in “high quality” or “photo” mode, even internal drafts.
The fix: Set “draft” or “eco” mode as default. Use high quality only for client-facing documents.
ROI impact: Reduces toner usage by 30-50%. No noticeable difference in quality for internal documents.
Colour Printing
Common mistake: Letting anyone print in colour, anytime, for any document.
The fix: Set black and white as default. Require manual override for colour. Or restrict colour to specific users or departments.
ROI impact: Colour toner is 3-5x more expensive than black and white. Reducing unnecessary colour printing saves significant money.
Part Four: The Hidden ROI of Underutilised Features
Let me put some numbers on this.
Scenario: A 15-person office
| Feature | Time saved per person per week | Value (at £20/hour) | Annual value (50 weeks) |
| Scan-to-email (properly set up) | 15 minutes | £5 | £250 |
| DADF with double-sided scanning | 10 minutes | £3.33 | £167 |
| Mobile printing | 10 minutes | £3.33 | £167 |
| Secure print release (reduced reprints) | 5 minutes | £1.67 | £83 |
| Workflow automation (one process) | 30 minutes | £10 | £500 |
| Total per person | 70 minutes | £23.33 | £1,167 |
| Total for 15-person office | 1,050 minutes (17.5 hours) | £350 per week | £17,500 per year |
And that’s just time savings. Add in paper savings, toner savings, reduced waste, and reduced frustration, and the ROI is even larger.
All from features you already own.
Part Five: How to Activate These Features
Don’t be intimidated. Most of these features take 10-30 minutes to set up.
Step 1: Check What You Have
Look up your copier’s model number. Search for the user manual online. Skim the table of contents. You’ll be surprised what’s there.
Step 2: Access Admin Settings
Most copiers have an “administrator settings” menu. You’ll need a password. Try the default (often “admin” or “1111”). If that doesn’t work, check your manual or call your provider if you have a support agreement in place.
Step 3: Enable Features One at a Time
Don’t try to do everything at once. Pick one feature. Enable it. Test it. Train the team on it. Make sure it’s working. Then move to the next.
Suggested order:
- Double-sided as default (30 seconds to enable)
- Print tracking and reporting (10 minutes)
- Scan-to-email shortcuts (15 minutes)
- Secure print release (15 minutes)
- Mobile printing (10 minutes)
- Scan-to-cloud (20 minutes)
- Workflow automation (30 minutes+)
Step 4: Train Your Team
A feature is useless if no one knows about it.
- Show, don’t just tell. Demo the feature in a team meeting.
- Create simple instructions. One page, bullet points, stick it near the copier.
- Answer questions. Someone will ask “how do I scan double-sided?” Have an answer ready.
Step 5: Review and Optimise
After 30 days, check your print tracking reports. Has usage changed? Are people using the new features? What questions are still coming up?
Adjust as needed.
Part Six: Examples
Here are a few examples of businesses that unlocked hidden ROI from their copiers.
Example 1: The Scan-to-Email Breakthrough
A professional services firm had scan-to-email enabled, but it was slow and unreliable. Staff had to navigate through 4 menus to scan. It often failed.
The fix: They re-configured scan-to-email with one-touch shortcuts. They tested it weekly to ensure it worked.
The result: Scanning time dropped from 3 minutes to 30 seconds. Staff started scanning documents they used to file physically. The office went from paper-heavy to paper-light within months.
Example 2: The Secure Print Surprise
A busy office had piles of uncollected print jobs on every printer. Staff reprinted documents they had already printed, assuming the original was lost.
The fix: They enabled secure print release. Print jobs stayed in the queue until released at the machine. Uncollected jobs were automatically deleted after 2 hours.
The result: Uncollected print jobs disappeared. Paper usage dropped by 25% (no more reprints). Staff no longer had to sort through piles to find their documents.
Example 3: The Print Tracking Discovery
A business had no idea how much they were printing. They enabled print tracking and ran a monthly report.
The discovery: 40% of their colour printing was internal drafts that could have been black and white.
The fix: They set black and white as default. Colour required a manual override.
The result: Toner costs dropped by 35%. Annual saving: £1,800.
Example 4: The Workflow Automation Win
A business had a repetitive process: scan signed contracts, save to client folder, rename with client name and date, email accounts to notify.
The fix: They set up a workflow. Scan to “Contracts” shortcut. The copier automatically converted to searchable PDF, saved to the correct folder with the correct naming convention, and emailed accounts.
The result: A 5-minute process became 30 seconds. No more manual renaming. No more forgotten notifications. No more “where did that contract go?”
Part Seven: Your 30-Day Feature Activation Plan
Week 1: Discovery
- Find your copier’s model number
- Download the user manual
- Skim the table of contents (look for sections on scanning, security, reporting, workflows)
- Log into admin settings (find the password), or contact your support provider.
Week 2: Quick Wins
- Set double-sided as default (30 seconds)
- Set black and white as default (30 seconds)
- Set draft/eco mode as default (30 seconds)
- Enable print tracking (10 minutes)
Week 3: Scanning
- Set up one-touch scan-to-email shortcuts (15 minutes)
- Configure scan-to-cloud for your most-used cloud service (20 minutes)
- Show the team how to use the automatic document feeder (5 minutes)
Week 4: Advanced
- Enable secure print release (15 minutes)
- Enable mobile printing (10 minutes)
- Set up one workflow automation (30 minutes+)
Final Thoughts
Your office copier is probably the most underutilised piece of equipment you own. You paid for features you’re not using. Every feature you don’t use is money left on the table.
Double-sided printing saves paper. Print tracking saves money. Secure print release saves waste. Scan-to-email saves time. Workflow automation saves entire processes.
None of these features require new hardware. They’re already there, waiting to be activated.
Pick one feature this week. Enable it. Test it. Train your team on it. Then pick another.
By the end of a month, you’ll be using features you didn’t know existed. Your team will be more productive. Your costs will be lower. And you’ll wonder why you waited so long.
If you’d like a friendly, no-pressure chat about maximising your copier’s features, whether that’s help with setup, advice on what to prioritise, or just honest guidance, just reach out.
We’re independent. We’re here to help. And we won’t sell you things you don’t need.