
A practical guide for your office, because your copier should last, not cost a fortune
Let’s be honest for a moment. When did you last think about extending your copier’s life?
If you’re like most office managers and business owners, the answer is probably “never.” You use the machine until it starts breaking down, then you call for repairs, then you grumble, and eventually you replace it years earlier than you expected.
Here’s the thing, a typical office copier should last 5 to 7 years, or anywhere from 500,000 to several million pages, depending on the model. But most offices don’t get anywhere near that.
Why? Not because the machines are badly made. Because nobody ever taught them the simple, everyday habits that keep a copier happy.
The good news? Maximising your copier’s lifespan isn’t complicated, technical, or time-consuming. In fact, most of these tips take less than five minutes a week.
In this article, I’ll walk you through the simple, practical habits that add years to your copier’s life, and save you thousands in early replacements and emergency repairs.
Let’s dive in.
Why Lifespan Matters More Than You Think
Before we get into the how, let’s talk about the why.
A new copier isn’t cheap. Even a modest multifunction device for a small office can cost £1,500 to £5,000. Larger machines for busier offices run £8,000 to £15,000 or more.
Every year you extend your copier’s life is money straight back into your budget.
But it’s not just about the purchase price. Consider what happens when a copier dies early:
- Unexpected capital expense – You weren’t planning to spend £3,000 this quarter
- Emergency installation fees – Next-day delivery and setup costs more
- Staff downtime – Days of reduced productivity while you sort it out
- Lost documents – If it dies mid-job, you might lose critical work
- IT time – Your team spends hours setting up new drivers and network config
A machine that should have lasted seven years but dies in four has cost you far more than the replacement price.
The good news? Most early deaths are preventable. Let’s get to work.
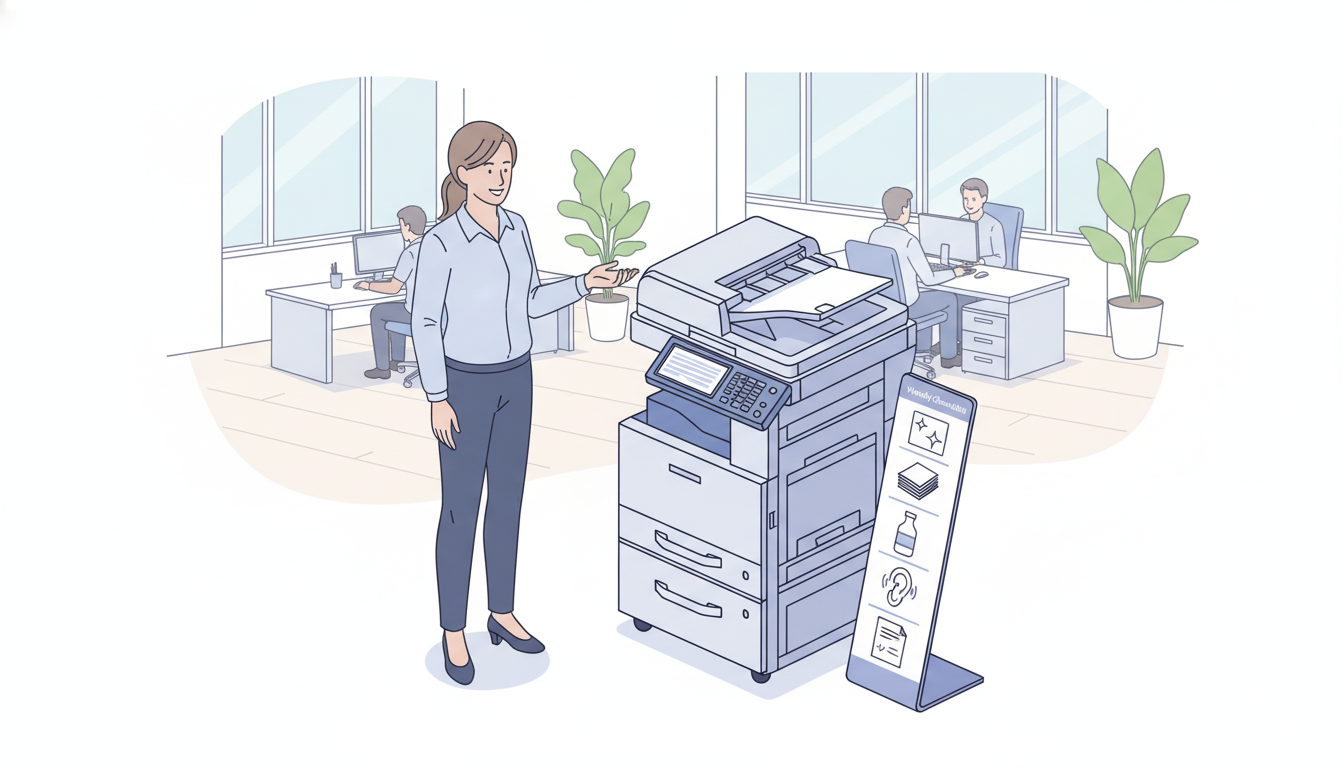
Part One: The Weekly Five-Minute Habit
If you do nothing else from this article, do this.
Set aside five minutes every Friday afternoon. Same time, same day. One person on your team becomes the “copier care person.”
Here’s what they do:
- Wipe the scanner glass (30 seconds)
Open the lid. Look at the glass strip and the white backing. Are there smudges, dust, dried toner or Tipex? Wipe gently with a soft, dry, lint-free cloth.
Why it matters: Dirty glass causes streaks on scans and copies. Over time, stuck-on debris can scratch the glass permanently.
What not to use: No glass cleaner, no paper towels, no wet wipes. Just a dry, soft cloth.
- Check the paper trays (1 minute)
Open each tray. Remove the paper stack. Fan it gently. Put it back. Make sure the paper guides are snug against the stack (but not crushing it).
Why it matters: Fanning prevents static cling that causes misfeeds. Proper guides stop paper from skewing and jamming.
- Look at the waste toner (30 seconds)
Most copiers have a waste toner bottle or box. Where is it? How full is it? If it’s getting close, order a replacement now (not when it’s full and the machine stops working).
Why it matters: A full waste toner bottle stops your machine completely. Having a spare on hand means zero downtime.
- Listen for one minute (1 minute)
Stand near the copier while it’s idle. Is it making any unusual sounds? A soft hum is fine. Clicking, grinding, or squeaking is not.
Why it matters: Strange noises are early warning signs. Catching them early means a small, cheap fix instead of a big, expensive one.
- Print a test page (2 minutes)
Most copiers have a built-in test page (look under Settings > Reports > Test Page). Print one. Look at it. Is the text crisp? Are there streaks, lines, or faded areas?
Why it matters: Gradual quality decline is easy to miss day-to-day. A weekly test page makes problems visible immediately.
That’s it. Five minutes. One person. Once a week.
Offices that do this consistently add 1–2 years to their copier’s life. We’ve seen it hundreds of times.
Part Two: The Monthly 15-Minute Deeper Clean
Once a month, spend a little more time. Fifteen minutes will do it.
- Clean the paper path
Turn the machine off (important, wait for it to cool if it’s been running). Open all doors and panels. Using a soft, dry cloth or a small handheld vacuum (not a powerful household vacuum), gently remove dust and paper bits from visible areas.
Don’t go digging deep. Only clean what you can easily see and reach.
Why it matters: Paper dust builds up over time. It attracts moisture, becomes sticky, and causes jams. A monthly clean prevents this buildup.
- Wipe down exterior surfaces
Dust the top, sides, and control panel. Use a dry or slightly damp cloth (not wet). Dry immediately.
Why it matters: Dust can work its way inside through vents and crevices. Over years, that dust affects sensors and fans.
- Check ventilation
Is the copier pushed against a wall? Move it out at least 4–6 inches. Is there clutter on top or around the sides? Clear it.
Why it matters: Copiers generate heat. Good airflow keeps internal components cool and happy. Overheating is a major killer of copiers.
- Inspect cords and cables
Look at the power cord and network cable. Any fraying, kinks, or damage? Is the plug firmly seated? Are cables a trip hazard?
Why it matters: Damaged cables cause intermittent problems that are hard to diagnose. A £10 replacement cable saves a £300 service call.
Part Three: Smart Daily Habits
These aren’t chores. They’re just small changes to how your team uses the machine.
Use the right paper
This is the single biggest factor in copier lifespan.
Every copier has recommended paper weights (usually 80gsm standard, up to 300gsm for heavy stock). Using paper that’s too thick causes jams and wears out rollers faster. Using paper that’s too thin can cause misfeeds and tearing.
Pro tip: Keep one tray for standard 80gsm A4. Use other trays only for the paper type they’re configured for.
Don’t force things
If a tray won’t close, don’t push harder. Something is misaligned. If a door won’t latch, don’t slam it. Something is blocking it.
Forcing anything on a copier breaks plastic tabs, misaligns hinges, and damages sensors. A gentle touch always wins.
Clear jams properly
When a jam happens, resist the urge to yank the paper out. Open all doors. Look for the green handles or tabs (manufacturers colour-code them). Follow the paper path. Remove paper gently.
If paper tears, make sure you get all the pieces out. A small scrap left inside becomes tomorrow’s jam.
Let the machine sleep
Don’t turn the copier off at night. Modern copiers have energy-saving sleep modes. They draw very little power but stay ready.
Why not turn it off? Because startup cycles cause thermal expansion and contraction. Doing that daily stresses components more than leaving it on in sleep mode.
Exception: If your office is closed for a week or more (Christmas, summer shutdown), turning it off is fine.
Use the correct print settings
Printing everything in “high quality” or “photo” mode uses more toner and puts more heat through the fuser. For internal drafts and everyday documents, standard mode is fine.
Save high-quality mode for client-facing documents and important presentations.
Part Four: Smart Maintenance Habits
These are things you should do regularly but might not think about.
Keep a log of problems
Get a small notebook or create a shared note on your phone. Every time something unusual happens, a jam, an error code, a weird noise, write it down with the date.
Why it matters: Patterns emerge. “Jams happen more on humid days” or “Error code 11-01 appears every Monday morning” helps your technician diagnose faster and cheaper.
Replace consumables on time
Your copier has parts that wear out predictably:
- Feed rollers – Every 50,000–100,000 pages
- Separation pads – Every 50,000–100,000 pages
- Photoconductor drum – Every 30,000–100,000 pages (varies by model)
- Fuser unit – Every 100,000–200,000 pages
- Transfer belt – Every 100,000–200,000 pages
Don’t wait for them to fail. Replace them when your machine or your service provider recommends.
Pro tip: Many managed print contracts include these consumables. If you’re paying for repairs ad-hoc, you’re probably paying more.
Use genuine or high-quality compatible toner
We’ve seen it too many times: a “bargain” toner cartridge from an unknown online seller damages a £3,000 copier. Cheap toner can leak, clog print heads, leave residue on drums, and void your warranty.
Our friendly advice: Use genuine toner or high-quality compatible from a trusted local supplier. The upfront saving on cheap toner is never worth the downstream damage.
Keep it in a happy environment
Copiers are fussier about their environment than you might think.
- Temperature: 10–30°C (50–86°F)
- Humidity: 20–80% (non-condensing)
- No direct sunlight (heats up the machine unevenly)
- No dusty areas (near a warehouse door or workshop)
- Stable surface (not wobbling)
A happy copier in a good environment lasts years longer than one in a hot, dusty, cramped corner.
Part Five: When to Call a Professional
Even with perfect care, copiers need professional attention sometimes. Here’s when to call.
Annual service
Just like your car, your copier benefits from an annual check-up. A technician will clean internal areas you can’t reach, lubricate moving parts, check sensors, update firmware, and spot problems before they become emergencies.
Cost: £100–200 per visit. Saving: Prevents £500–1,000 in emergency repairs.
When strange noises don’t stop
If you hear grinding, squeaking, or clicking for more than a day, call someone. A dry bearing is a cheap fix. A seized motor is not.
When print quality doesn’t improve
You’ve replaced toner. You’ve run the cleaning cycle. Prints still look faded or streaky. That’s a drum or fuser issue. Call a technician.
When error codes repeat
One error code after a restart? Fine. The same code three days in a row? That’s a real problem. Call with the code ready.
When you’ve had three jams in one day
Occasional jams happen. Three in a single day means something is wrong. Call before it becomes ten.
Part Six: The Repair vs Replace Decision
Even with the best care, every copier eventually reaches the end of its life. Here’s how to know when.
Signs it’s time to replace
- Age: 7+ years old (technology has moved on)
- Repair costs: More than 50% of a new machine’s cost in a single year
- Part availability: Manufacturer no longer makes parts for your model
- Speed: Your team is constantly waiting for the machine
- Features: You need scanning, cloud connectivity, or mobile printing that your old machine doesn’t have
Signs you should repair
- Age: Under 5 years old
- Repair cost: Under £300–500
- No other problems: The machine has been reliable otherwise
- Parts available: Your technician can get what they need
A simple rule of thumb
Add up your repair costs over the last 12 months. If that number is higher than six months of lease payments on a new machine, replace it.
Example: A charity in London spent £1,800 on repairs for their 6-year-old copier in one year. A new machine on a managed contract cost £150 per month (£1,800 per year). They replaced it. Same annual cost, brand new machine, no more repair headaches.
Part Seven: A Quick Reference Checklist
Print this (on your copier, of course) and stick it nearby.
Daily:
- Use correct paper type
- Don’t force trays or doors
- Clear jams gently
Weekly (Friday, 5 minutes):
- Wipe scanner glass
- Fan paper in trays
- Check waste toner level
- Listen for unusual noises
- Print a test page
Monthly (15 minutes):
- Clean paper path
- Wipe exterior surfaces
- Check ventilation (4–6 inches from wall)
- Inspect cords and cables
Yearly:
- Book professional service
- Review repair costs vs replacement
- Check if you’re using latest firmware
Final Thoughts
Your office copier isn’t the most glamorous piece of equipment in your building. But when it works well, you barely notice it. When it doesn’t, it can derail an entire day.
The difference between a copier that lasts four years and one that lasts seven years isn’t luck. It’s a handful of simple, five-minute habits done consistently.
Wipe the glass. Fan the paper. Listen for noises. Print a test page. Keep it clean. Use the right supplies. Call for help early, not late.
None of this is complicated. None of it is technical. It’s just paying attention.
And if you’re in London, Hertfordshire, Essex, and surrounding counties and you’d like a friendly, no-pressure chat about your current copier, whether that’s a health check, service, or honest advice on repair vs replace, just reach out.
We’re local. We’re independent. And we’re here to help.